Has fixed header
Description
Specifies if a header should be shown above the list. If checked you can also specify the header HTML using the fixed Header HTML property.
Setting Fixed List Headers
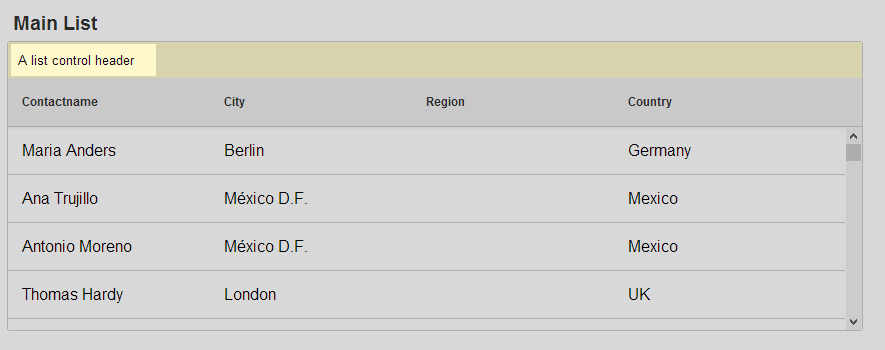
List controls have always supported 'data' headers. Data headers appear before the first row of data (below the List titles) and after the last row of data. When the List is scrolled, the data header can scroll out of view. Fixed headers, on the other hand, appear above and below the List and are always visible regardless of how the List has been scrolled.
Insert Controls into a List Header
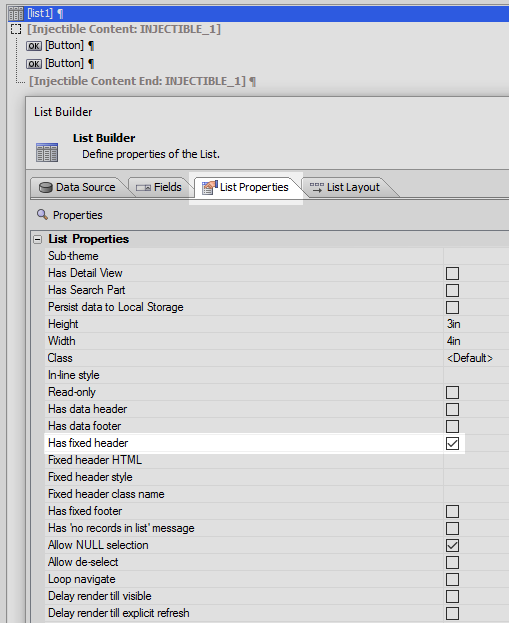
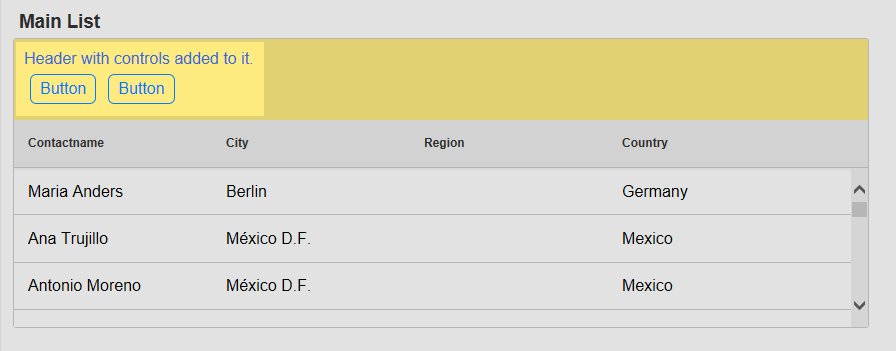
To insert controls in the header(e.g. input controls, buttons, etc), add the control to the UX and wrap then in an 'Injectible' container. The inject the contents into the header as shown in the image below. When you open the header editor you will see a hyperlink that generates the required code.
On the UX Controls page create a list control. Then define its data source and layout.
a. Select [List] under 'Data Controls'
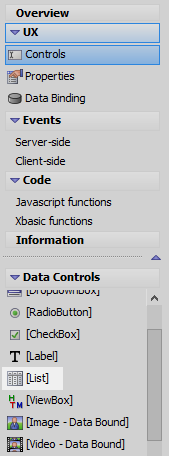
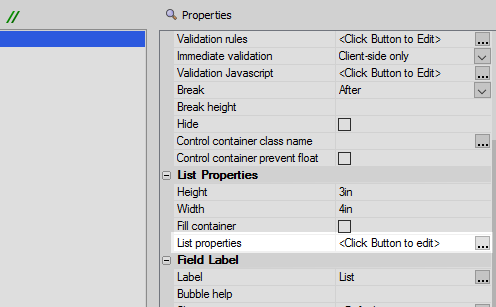
b. Click the List properties control to open the List Builder.
c. On the Data Source pane define a prefered data source.
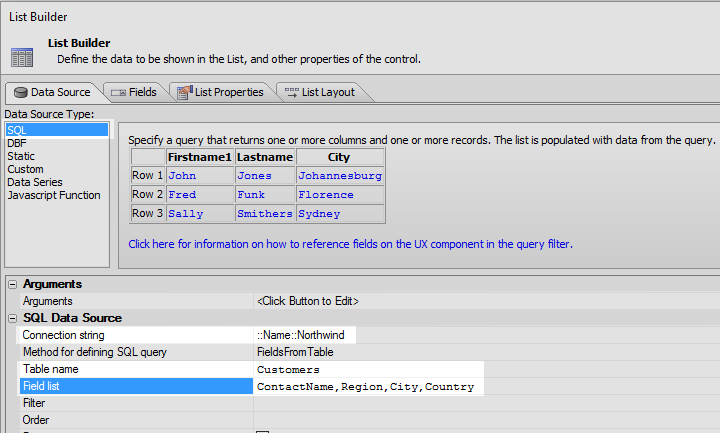 This example uses the Northwinds database's Customers table. Any data source will work though.
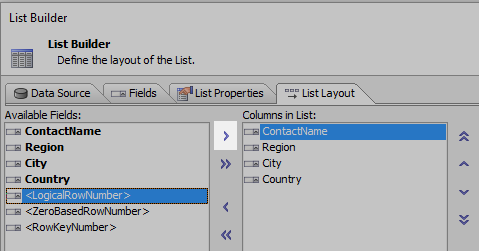
d. Go to List Layout and add the fields you want to display to "Categories in List" using the blue > arrow. Close the List Builder.
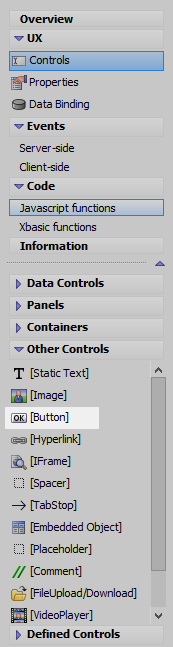
In the UX Controls page, under 'Other Controls' add several [Button] controls to the component. These will be included in the list control's header.
 Remove the Toggle Break from the control if you don't want the controls to stack vertically inside of the header.
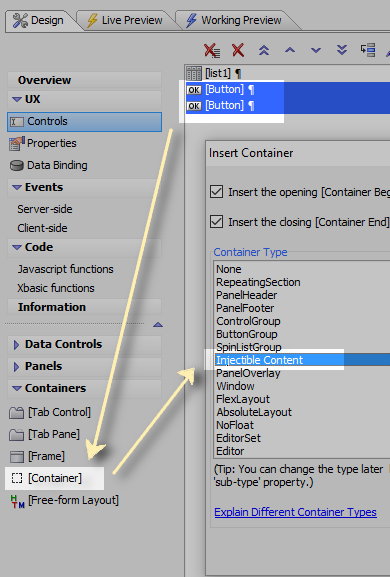
Highlight the button controls. In the Containers menu on the Controls page click on the [Container] option to place a container around the controls you added. From the Container Type options select 'Injectible Content'
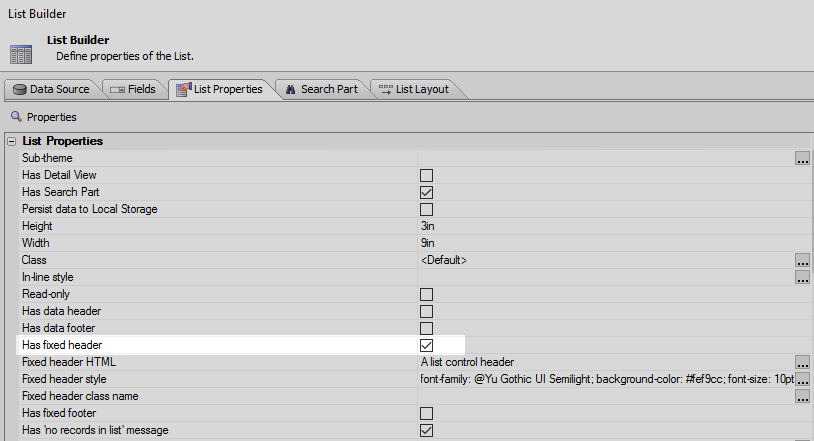
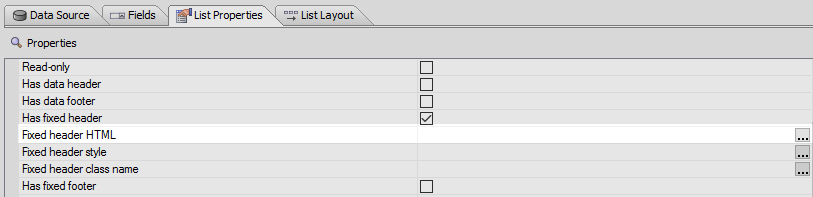
Reopen the List Builder and then open its 'List Properties' pane. In the 'List Properties' section find the 'Has fixed header' property and check it.
The "Fixed header HTML" property will appear. Click the [...] button next to it.
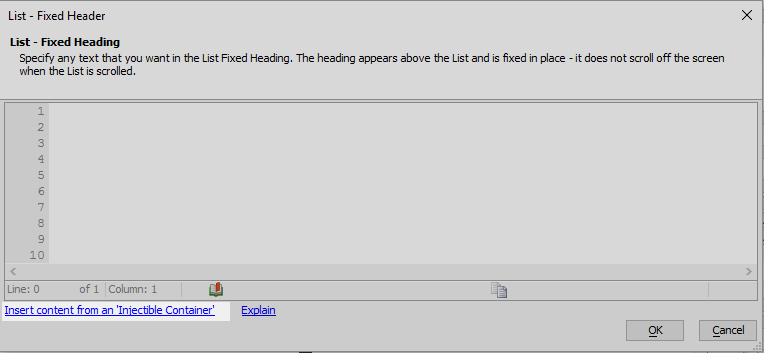
Click the "Insert content from an 'Injectible Container'" button at the bottom of the List -Fixed Header dialog.
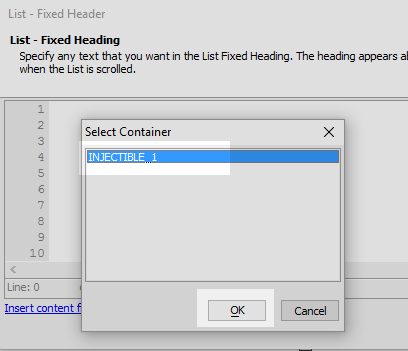
Highlight the INJECTIBLE_1 container you defined and click OK.
Optionally also add some header Text and Styling.

Now Close the List Builder and run the component in Live Preview.
See Also